
Another go-round with a classic 60s Aurora model kit! This time it's the 1999 Revell re-issue of the BATMAN all-plastic kit! I've assembled this model five times in my life (the first was actually built by my Dad in 1970, since I was only 5 then), and wanted to tackle it again, applying the skills I've picked up since the last time (the late-80s "Super Powers" re-issue)! Click all images below to enlarge!


Below: Work begins on the figure! After sub-assemblies were done, and sanding out seams (I left a few, to replicate seams in the outfit and boots, etc), it was time to paint! Basic spray-on colors were applied, then some over-spraying (with lighter hues), and under (with darker hues) to accent musculature, folds, etc...

The blue color motifs are added! I'll change those later, as you'll see...Also wanted a gold treatment for the utility belt, which I also would later modify...

Below: Checking the figure on the base (which made a convenient "drying rack")! Note the addition of a utility belt from the DC Direct "Silver Age Batman" action figure! I was also making plans to use the "posable" cape from the "Batman Masterpiece" figure...
 |
| You can see how I planned to affix the new cape within the curved form of the cape provided in the kit... |
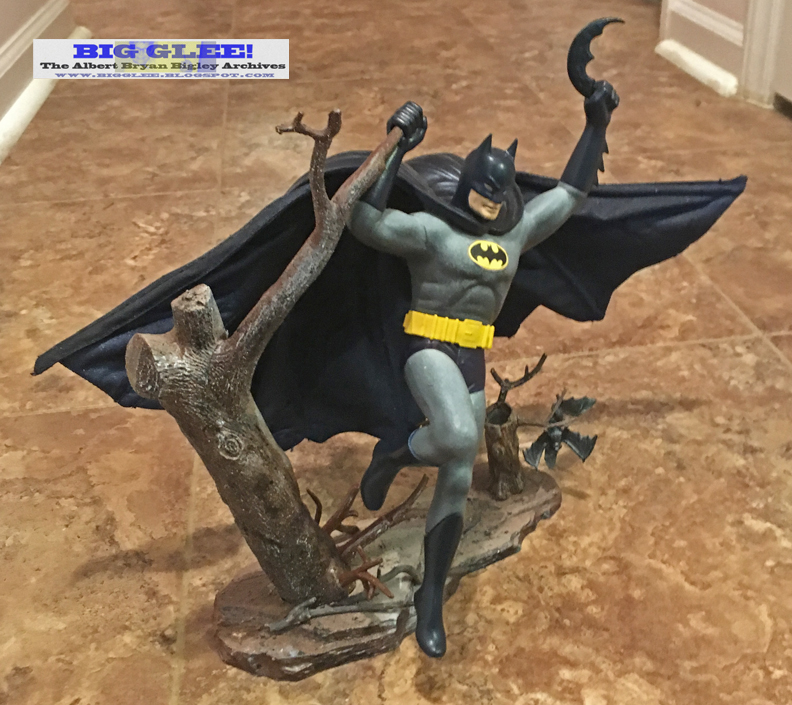
The finished model! I wanted to take the previously-applied lighter blue into a blue/black territory, keeping a very light gloss on those parts (with the other areas of the outfit matte)...After affixing his new cape to the smaller one provided with the kit, I applied a great deal of spray color to it, then a matte sealer!

 |
| Not happy with the "water decal" provided with the kit, I made my own chest insignia... |

I decided not to affix Batman's left foot to the base, enabling him to "swing out" more, and not be so anchored to the tree! Good thing, too, as his new (very heavy) cape weighed him down and pushed him forward quite bit! I covered the "foot opening" on the tree with more twigs!


The larger cape also gives the figure a larger, looming physical presence...


Below: Another look at the base for the kit!

Below: A look at my last take on the kit, built by me in 1988, compared to this most recent attempt!


Below: You can see how I attached the new cape, inside the too-small plastic cape that came with the kit! Also note that I restricted the tree detailing to the front of the kit...

Below: The original 1965 issue of the Aurora Batman kit!

BONUS-Look below to see how I used my own Batman cosplay (see more here) to
recreate this famous (comic) scene!


7 comments:
Just gorgeous! Another 60s toy I never tire of!
Beautiful job. Thanks for sharing!
Best customization of this kit that I've seen.
Hi!
Nice work! Do you have a list of the paint colors you used please?
Thanks!
I just use whatever seems to match the colors I have in mind! I try to pay attention to what would be gloss and what would come out as flat matte..Altho you can add sprays and such to create those effects! Mostly used standard model paints, in brush-on and spray!
Al Bigley
Sweet!
An artistic masterpiece in modeling. Inspirational. Thank you for sharing.
Post a Comment